What a year!
I recently wrote a blog post for my new Interweave column, Roving Reporter, about my 2016 travels. It was hard to even know where to start with highlights from such an epic year. I traveled to Colorado to film my first three DVDs, hosted thirty-five Saturday fiber gatherings/classes with my local crew at the Trading Post, taught for fourteen events in ten different states, wrote piles of blog posts, articles, patterns… So, before 2017 gets rolling, it’s time to tidy the studio. (And sleep a few winks, too!)

Most of you will have heard me mention that I love to sample. I spin odd bits of fiber to see how it feels, I try different preparations and draws before starting a project, and I fill entire bobbins with odd bits of fibers as I demonstrate techniques in spinning workshops. The only problem is that I’m loath to throw it away!

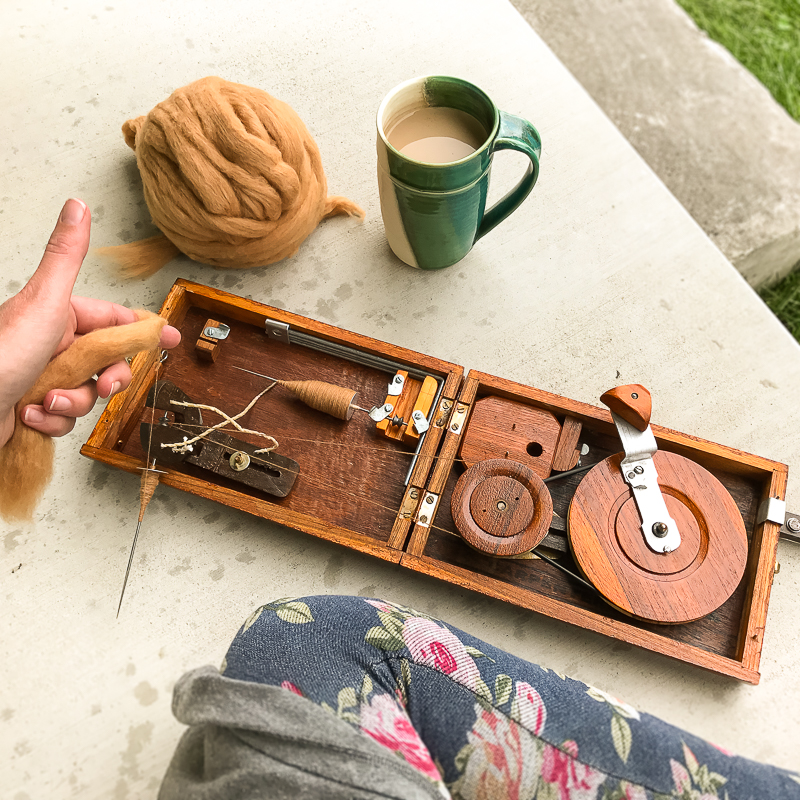
Throughout the year, I keep a bag full of bobbin dregs as you see on the left above. When I have odd bits on wheel bobbins or spindles, I just quickly wind them off onto weaving bobbins. Eventually, I sit down, divide the bobbins into several colorways, and start plying all the short bits together into skeins. There are many great yarns that you can make with scraps, but a basic 3-ply yarn always makes me happy.
If you are not comfortable joining new singles into your yarn during plying, this is a great opportunity to gain some practice. Joining (or splicing, as I hear some spinners say) is done in many different ways. The method below is what I would try first when plying wool or anything with a bit of a fuzzy halo in a moderate-twist yarn for knitting. There are many reasons for adapting this for other fibers and end uses… maybe this should become a blog series!
3-Ply Scrap Skein

Spending a sunny New Year’s Day spinning in woolly leggings is a treat! These photos are shot one-handed, but I would typically have the twist pinched in my forward hand, as in the image, with my other hand tensioning the yarns closer to the lazy kate.
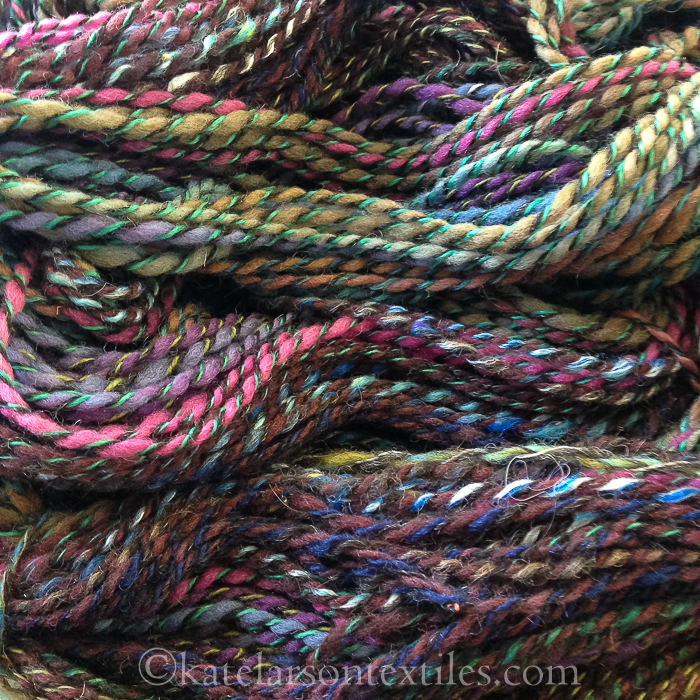
I really like using a 3-ply yarn structure when using odd bits that are not all the same gauge. Plying three singles together tends to even things out and create a more consistently-gauged, round yarn for knitting.

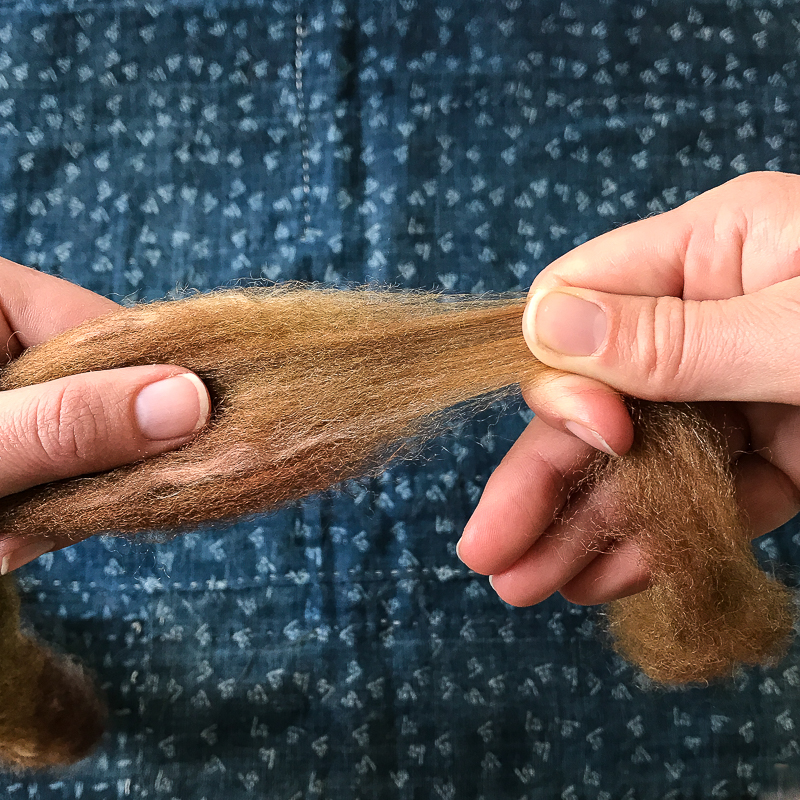
When plying scraps, I need to stop and join a new single far more often than usual. As I come to the end of each bobbin I typically stop when there is about a 3-inch tail.

I then lay in the beginning of the new single. A little tip that works for me: I stop with about a 3-inch tail, but when I introduce the new third ply, I often roll the yarn in my pinching fingers just a bit to remove about an inch of ply twist. When I place the new ply, I roll the yarn back the other direction to allow the ply twist to enter that last inch once more.

Now, I slide my fingers down a bit, allowing the twist to travel further into the join. I don’t worry if there is a little pigtail (or does lamb’s tail sound better??) as in the left image above. With my right hand, I can pinch the gold single in the unplied area near the bottom of the image and give it a gentle tug. This will pull the little tail into place nicely as you see in the second image.
… and off you go!
Best wishes for the New Year! Let’s meet 2017 head-on with all the force of our creativity and joy.